Japanese rice balls, or onigiri rice balls, are delightful little packages of joy that combine simplicity and tastiness. Whether enjoyed as a quick snack or as part of a bento box lunch, Japanese rice balls never fail to bring joy to both locals and curious food enthusiasts alike.
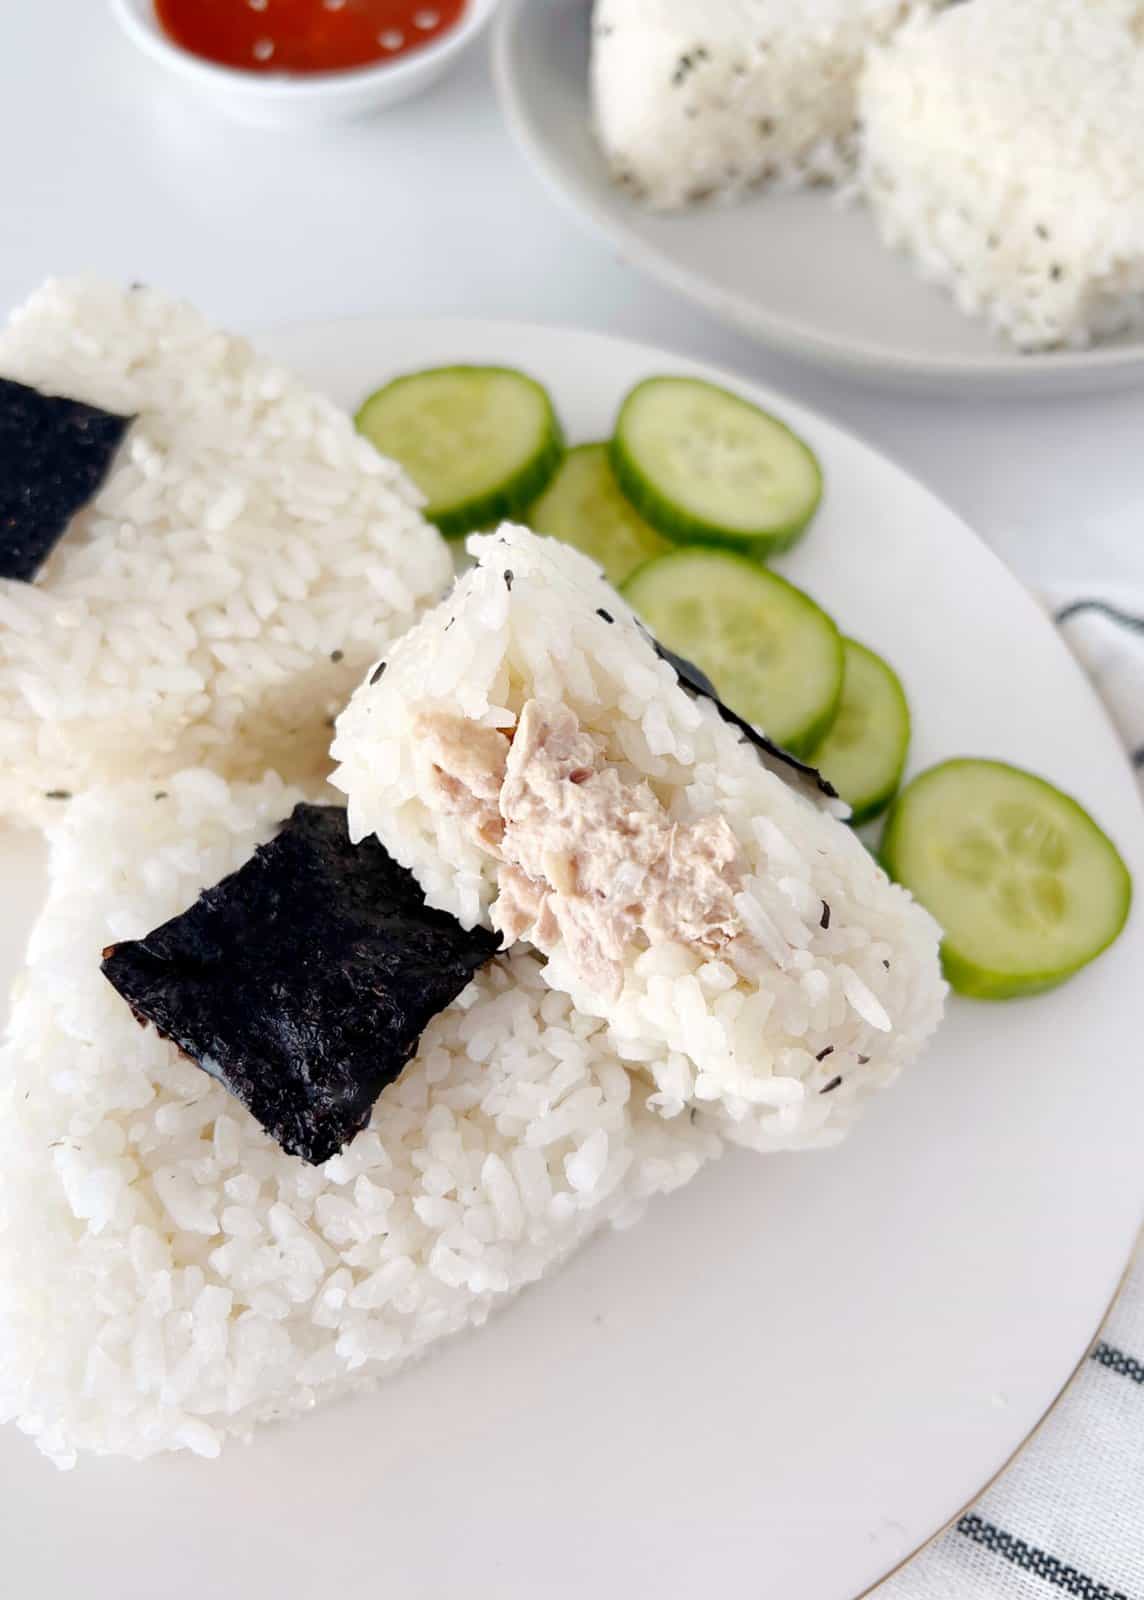
These rice balls come in a cute triangular shape with delicious fillings in the center. For this recipe, I used tuna, but the possibilities are endless. You will need an onigiri press, but don’t let that deter you. They are inexpensive and well worth the purchase.
Why You'll Love These Japanese Rice Balls
- Fun Fillings - Part of what makes onigiri so great is that you can fill it with whatever you like. You can opt for tuna or chicken mayo, like in this recipe, or you can try other ideas. Some popular picks include pickled plum, bonito, salmon, or seaweed filling.
- Quick Bite - This dish takes just 30 minutes to prepare. They make a fun snack or side, and are easy to grab on the go!
Ingredients for Japanese Onigiri
- Rice - Cooked sushi rice is best for your rice balls. They need to be firm enough to hold in your hand, like sushi would be. If you don’t have cooked rice, short grain rice will work. You will need 2 cups.
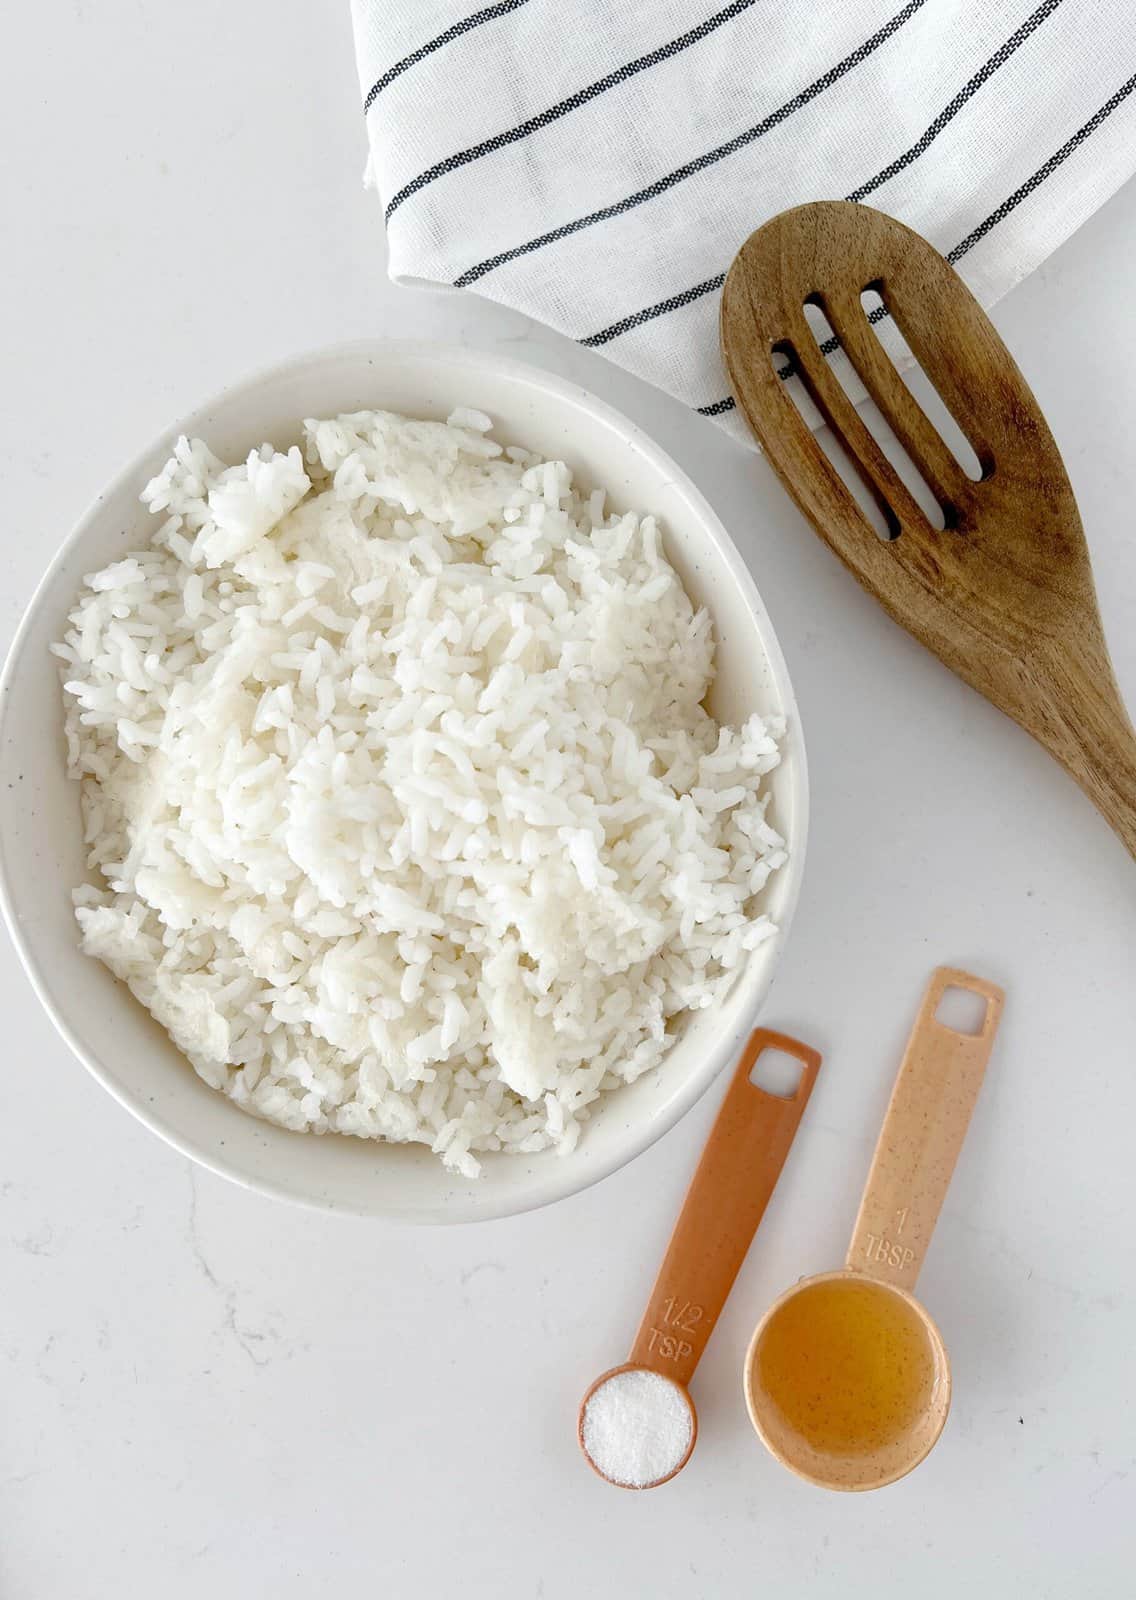
- Rice Vinegar - Don’t skip out on the vinegar. While it does add a nice element of flavor, the main purpose in adding vinegar to your sushi rice is to break down the starches to help it get that sticky texture. You will need 1 tbsp.
- Sugar - Like with the vinegar, sugar contributes to your sushi rice both in flavor and texture. You only need 1 tsp to lend a slight sweetness and stickiness to your rice.
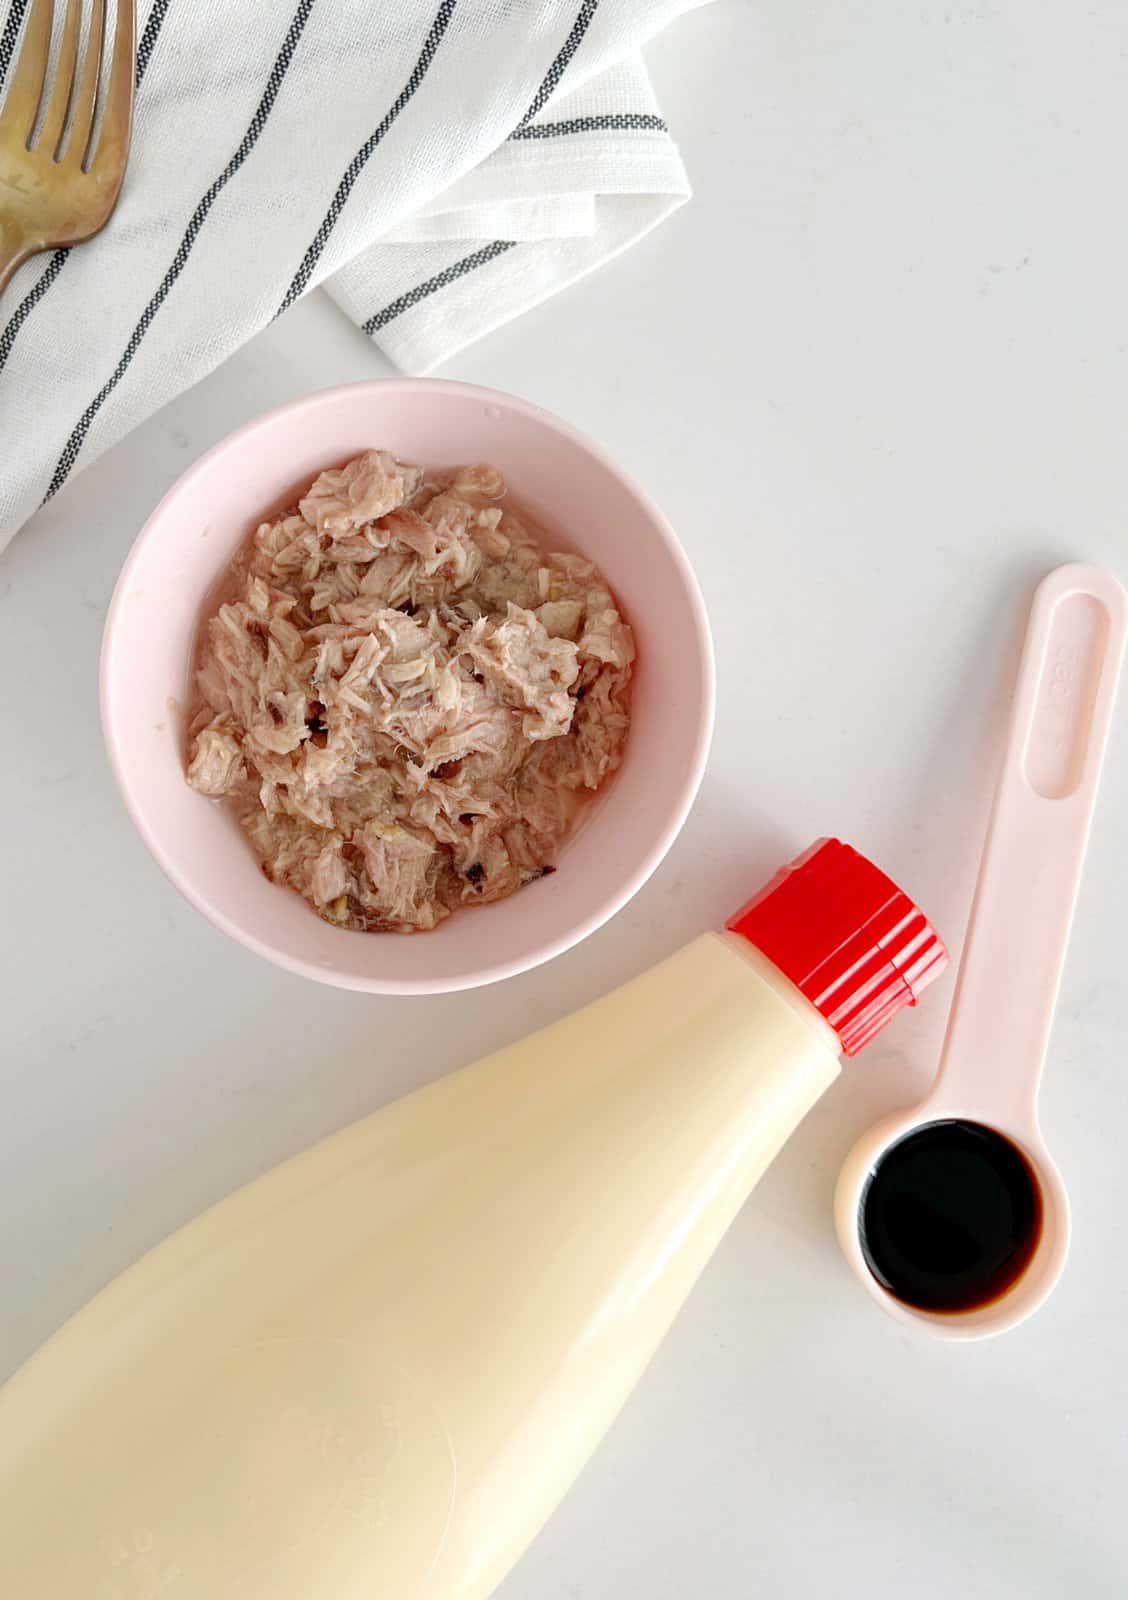
- Tuna or Chicken - This filling option is great because it is so easy. You just need 6oz of canned chicken or tuna! Make sure you drain the liquid off first.
- Soy Sauce - You will need a little soy sauce to season your filling. 1 tbsp will do the trick.
- Mayo - For your rice ball filling, you will need 2 tbsp Kewpie mayo. Kewpie is a little different from traditional mayonnaise, as it contains egg yolk instead of whole eggs. The texture is smooth and delicious!
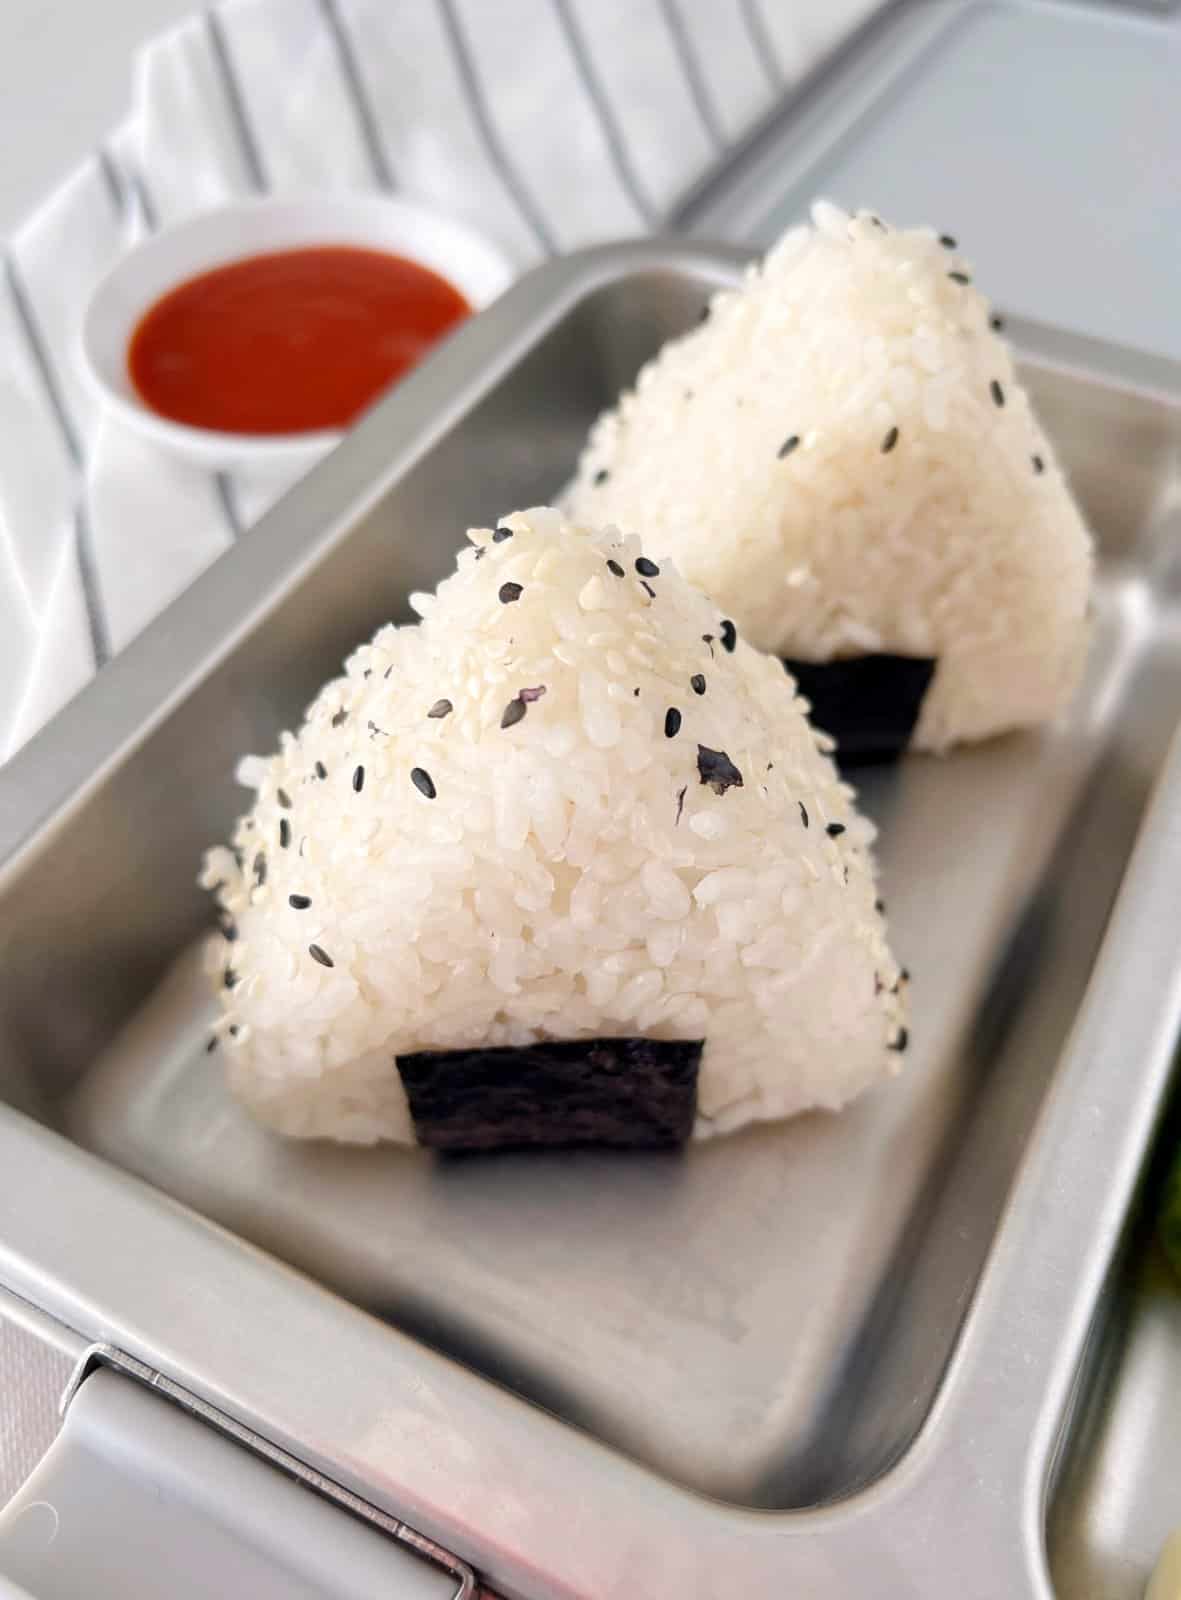
- Nori - If you’ve ever seen photos of onigiri, you are probably familiar with the little piece of seaweed on the outside. It is cute, tasty, and it also helps you pick it up without getting your fingers messy. You should cut your nori into triangles. You will only need 1 sheet for this recipe, so feel free to munch as you go!
- Optional Garnishes - You can enjoy your Japanese rice balls as they are, or you can top them with sesame seeds or furikake. You can also add dried bonito flakes to this easy onigiri recipe.
Special tools:
- Onigiri Mold - To shape your rice balls, you will need a triangle onigiri press, onigiri mold, or plastic wrap. I recommend starting with the triangle shape to keep things simple, but if you love making these, you can purchase all sorts of cute shaped molds.
Substitutions
- If you enjoy the tuna mayo and chicken mayo, but are looking for a vegan option, you can fill your onigiri with a little chickpea salad instead. There are many different onigiri fillings! Salted salmon or even spam is a common choice.
- Instead of nori seaweed on the outside, you can try a little fresh lettuce.
- If you have an egg or dairy allergy, swap the Kewpie mayonnaise for a plant-based mayo option. They actually make a vegan Kewpie, but if you are unable to find that, you can simply use store bought plant-based mayo, and add a little sugar and rice vinegar.
How to Make Rice Balls
- Prepare rice by rinsing until water is no longer cloudy. Cook rice according to bag or rice cooker directions and let cool a bit.
- Add rice wine vinegar and sugar to rice. Stir to combine.
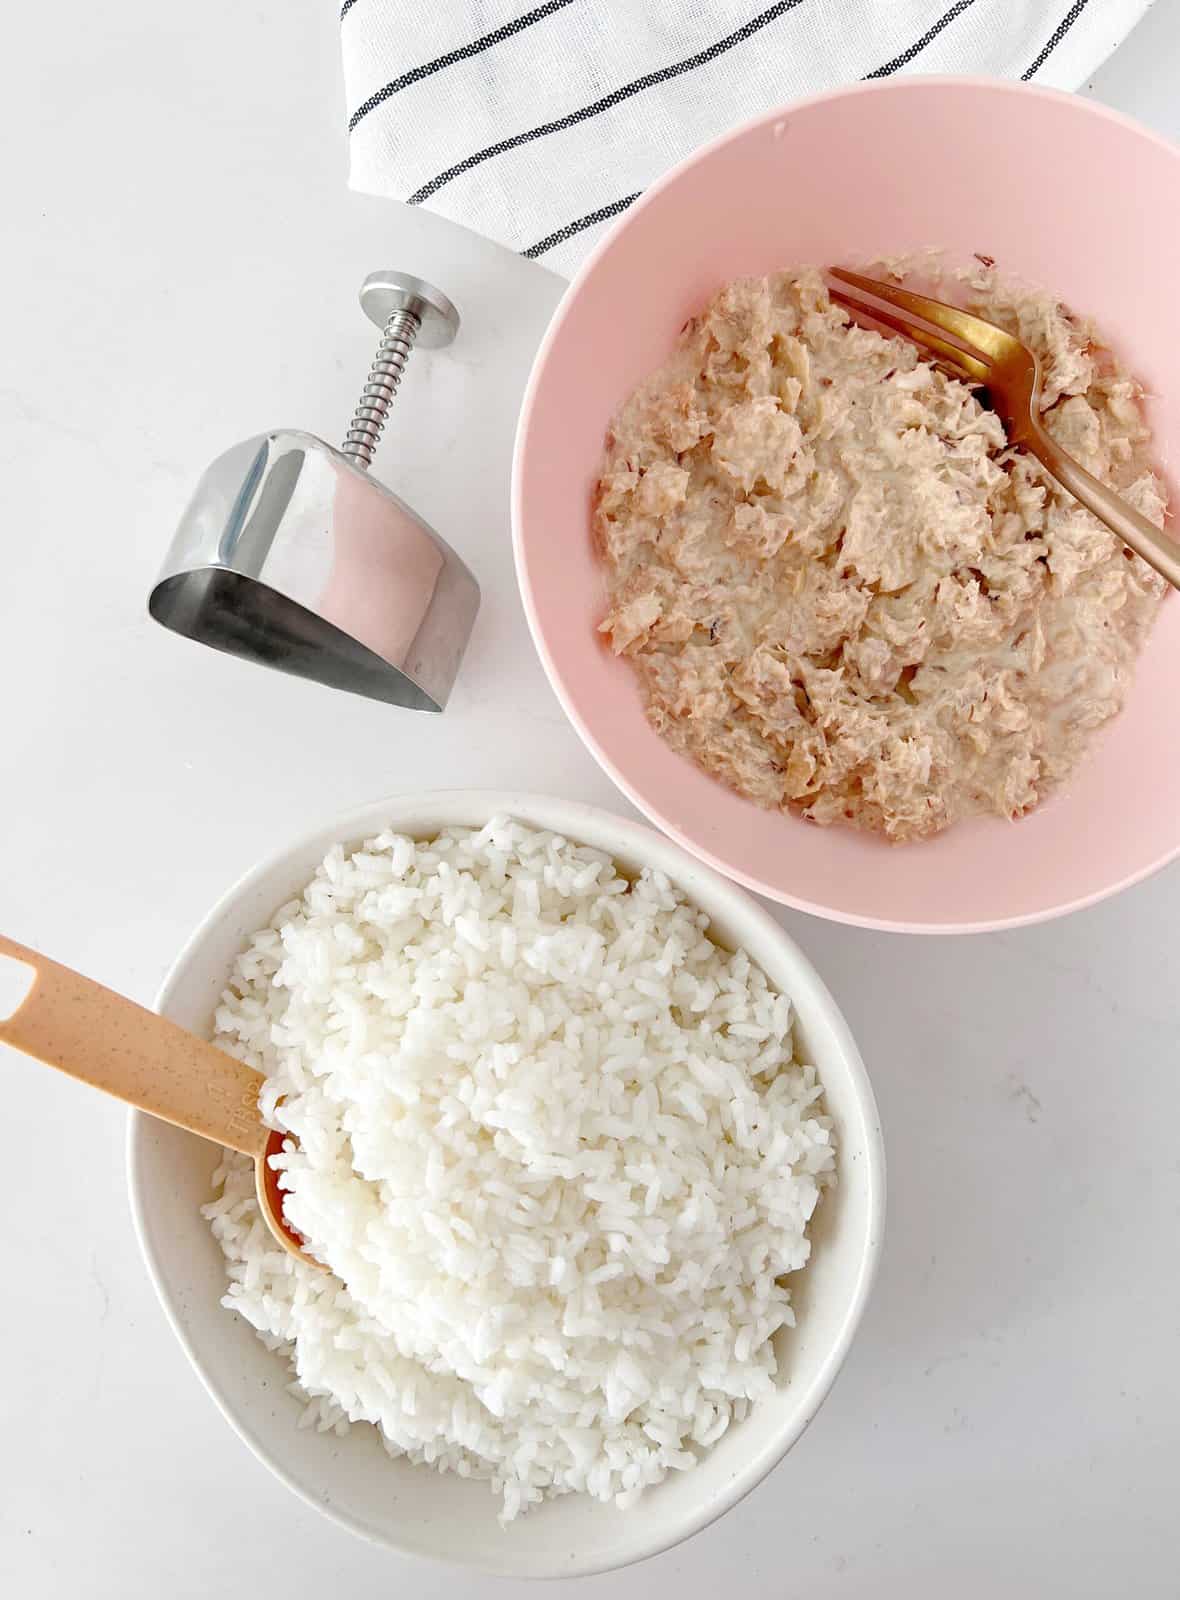
- In a separate bowl, mix together the mayo, drained tuna and soy sauce. Set aside.
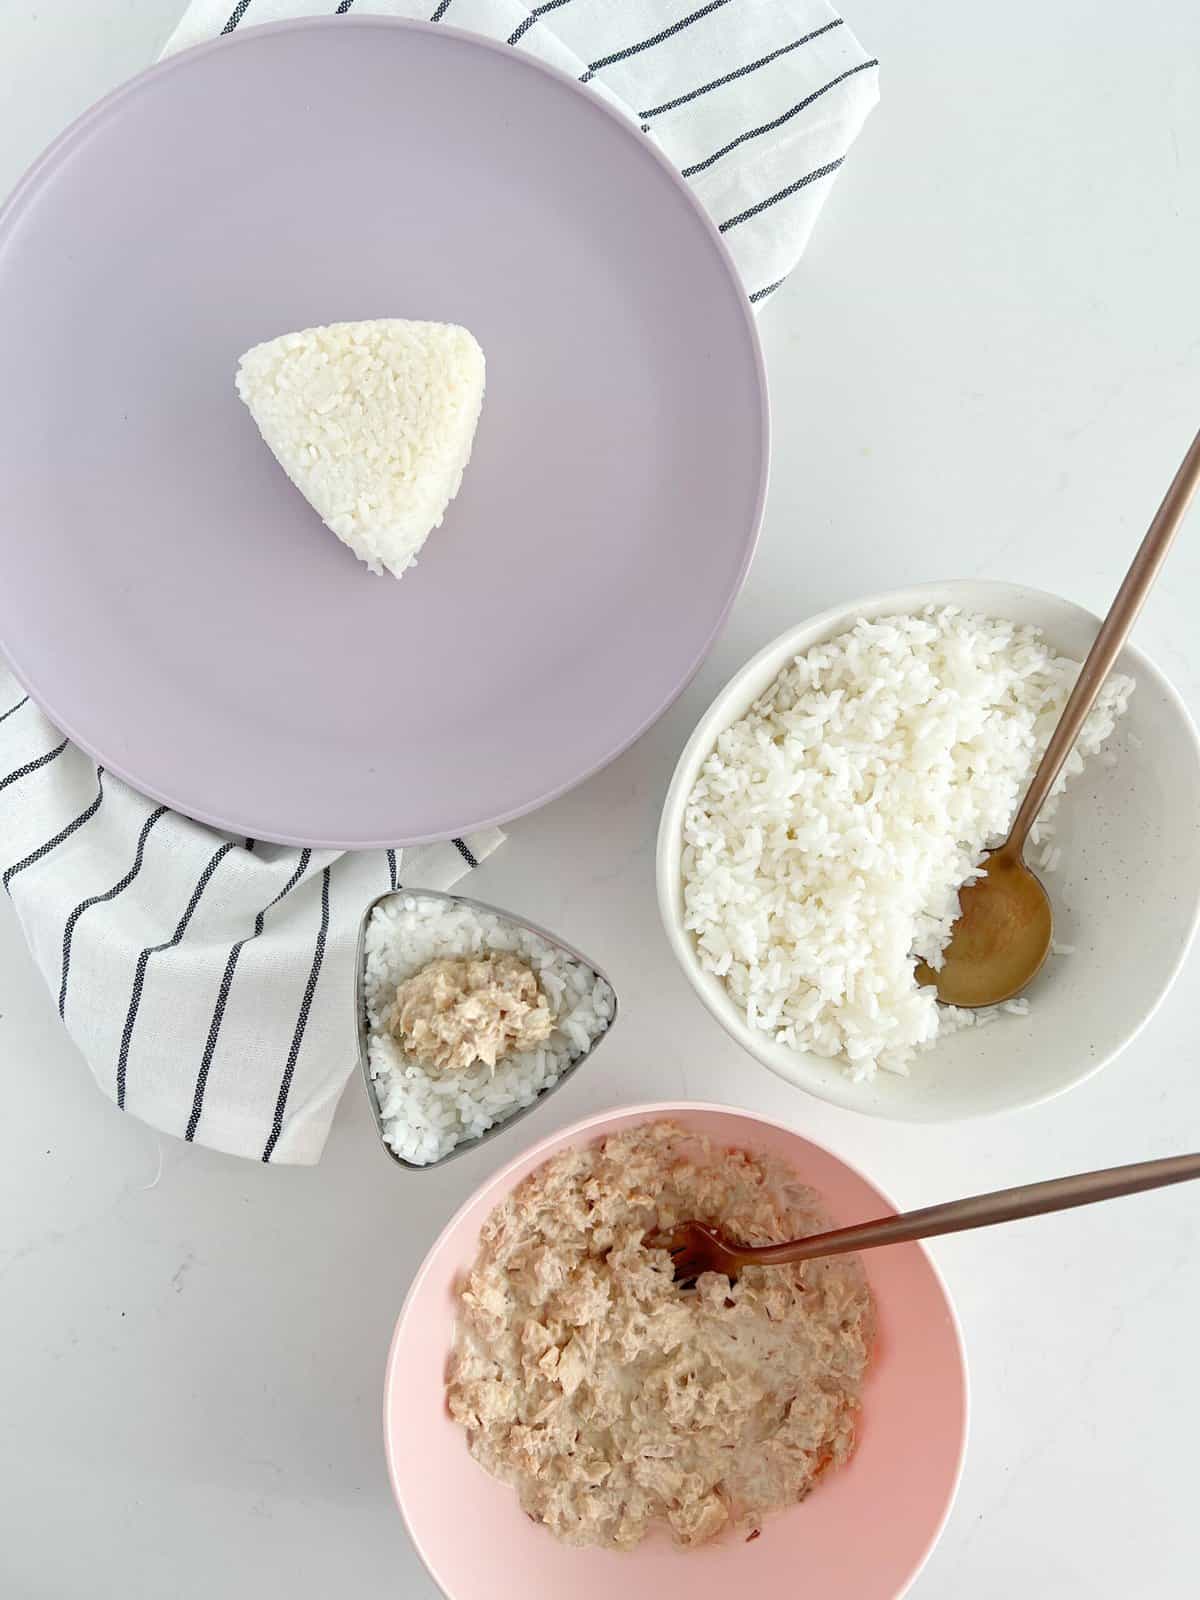
- Fill triangle press ⅔ of the way with the prepared rice and make a well in the center.
- Scoop around 1tbsp of the tuna or chicken filling into the well and then cover with another scoop of rice.
- Pack contents firmly to form the shape and press or fold the onigiri onto a plate. Place the nori strip around the bottom half of the onigiri and roll into furikake or sesame seeds if desired.
Step-by-Step Instructions
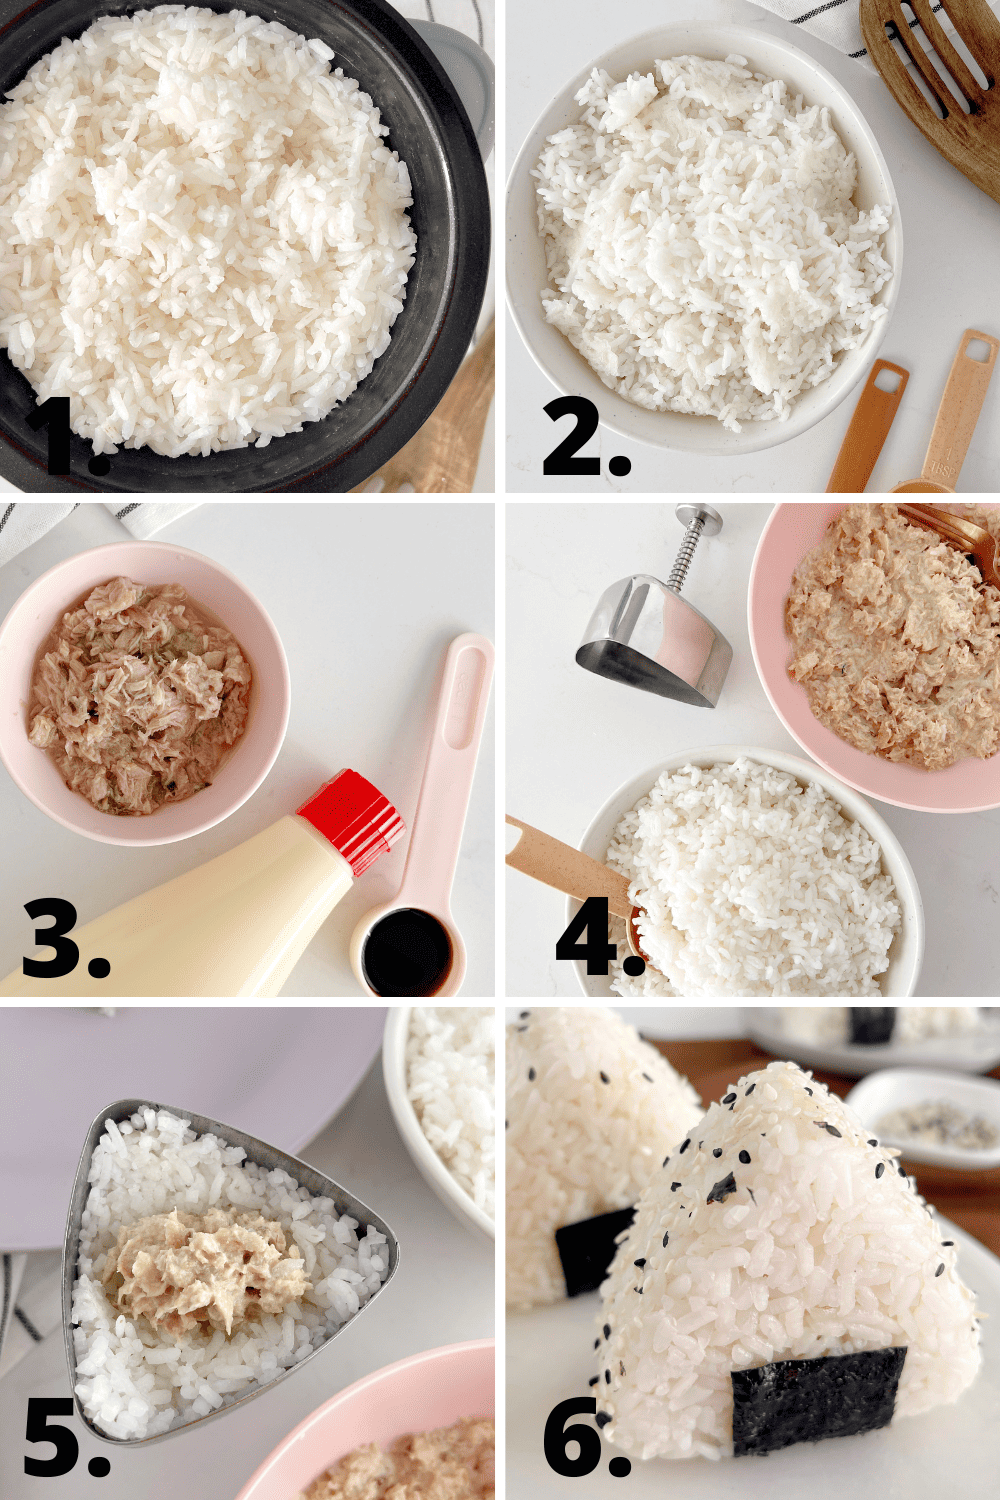
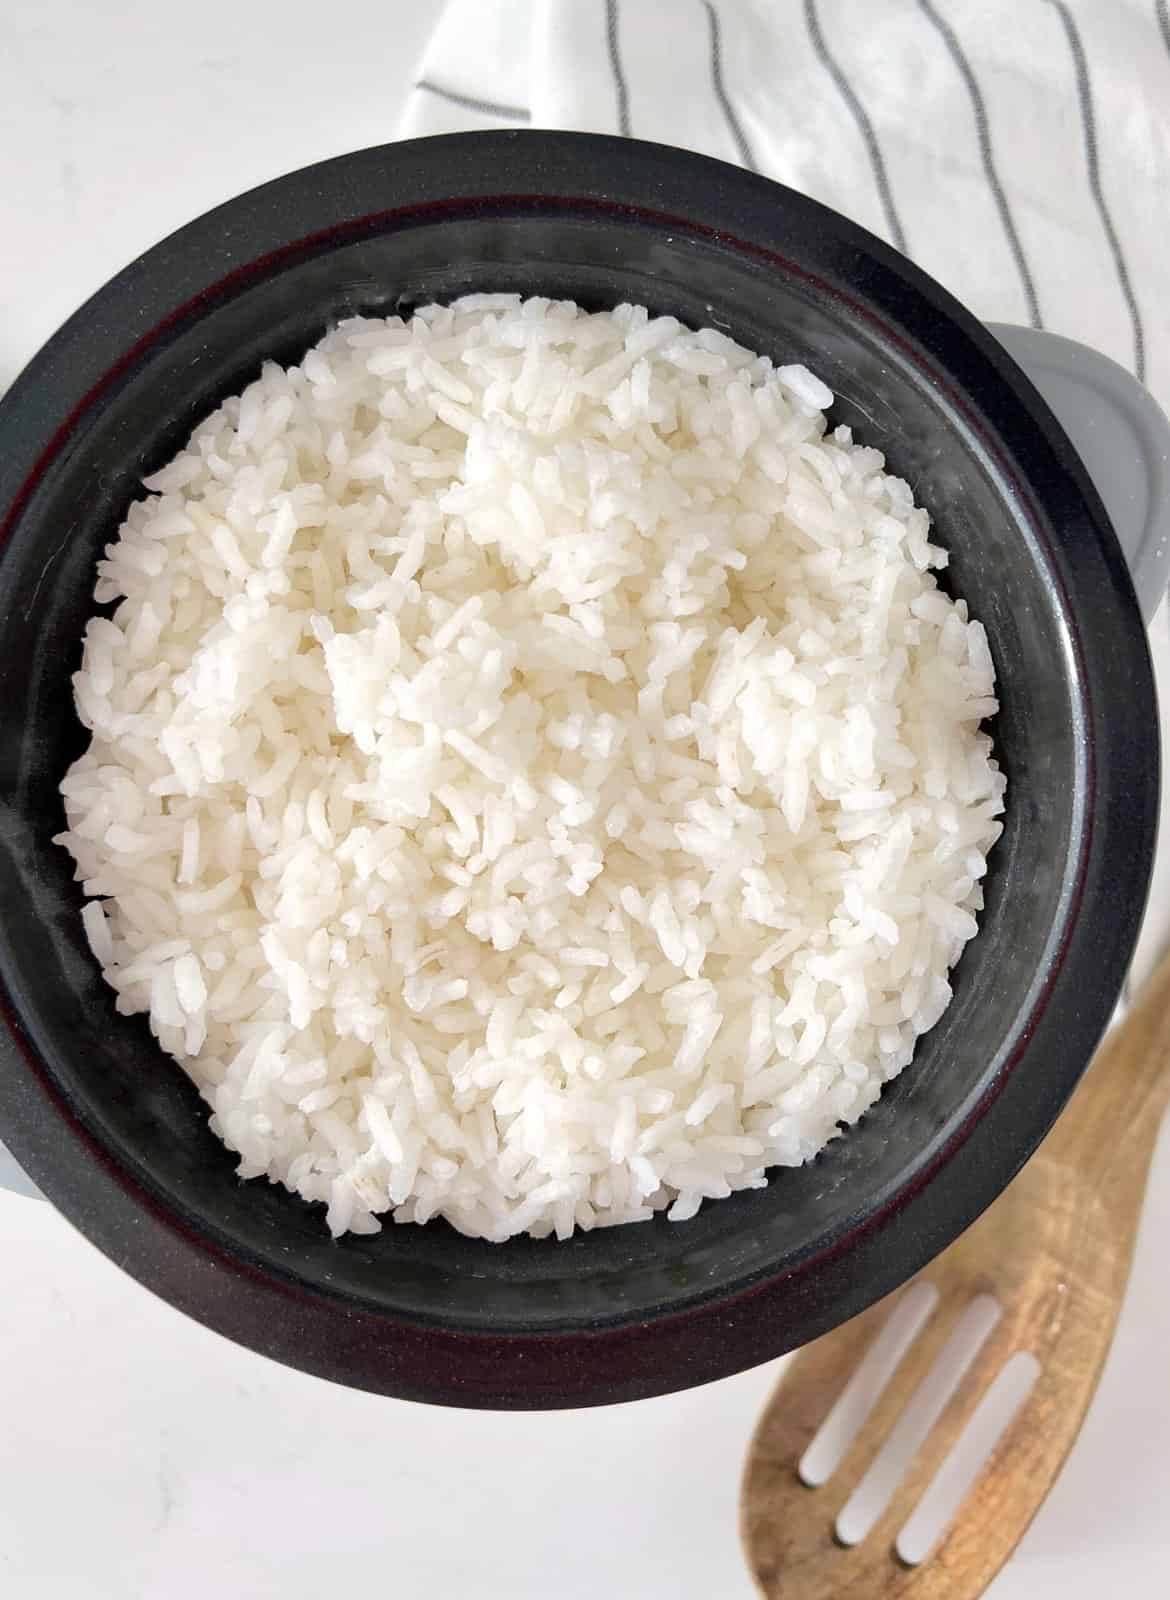
Start by preparing your rice. You should always rinse your rice before cooking. Rinse it until the water runs clear.Next, cook your rice. Cook the rice according to the directions on the package, or on your rice cooker if you are using one. Set it aside to allow it to cool most of the way down.
Add your rice wine vinegar and sugar to the pot of rice. Stir until combined.
Next, make your filling! Drain your tuna or chicken, and add it to a mixing bowl, along with the mayonnaise and soy sauce.
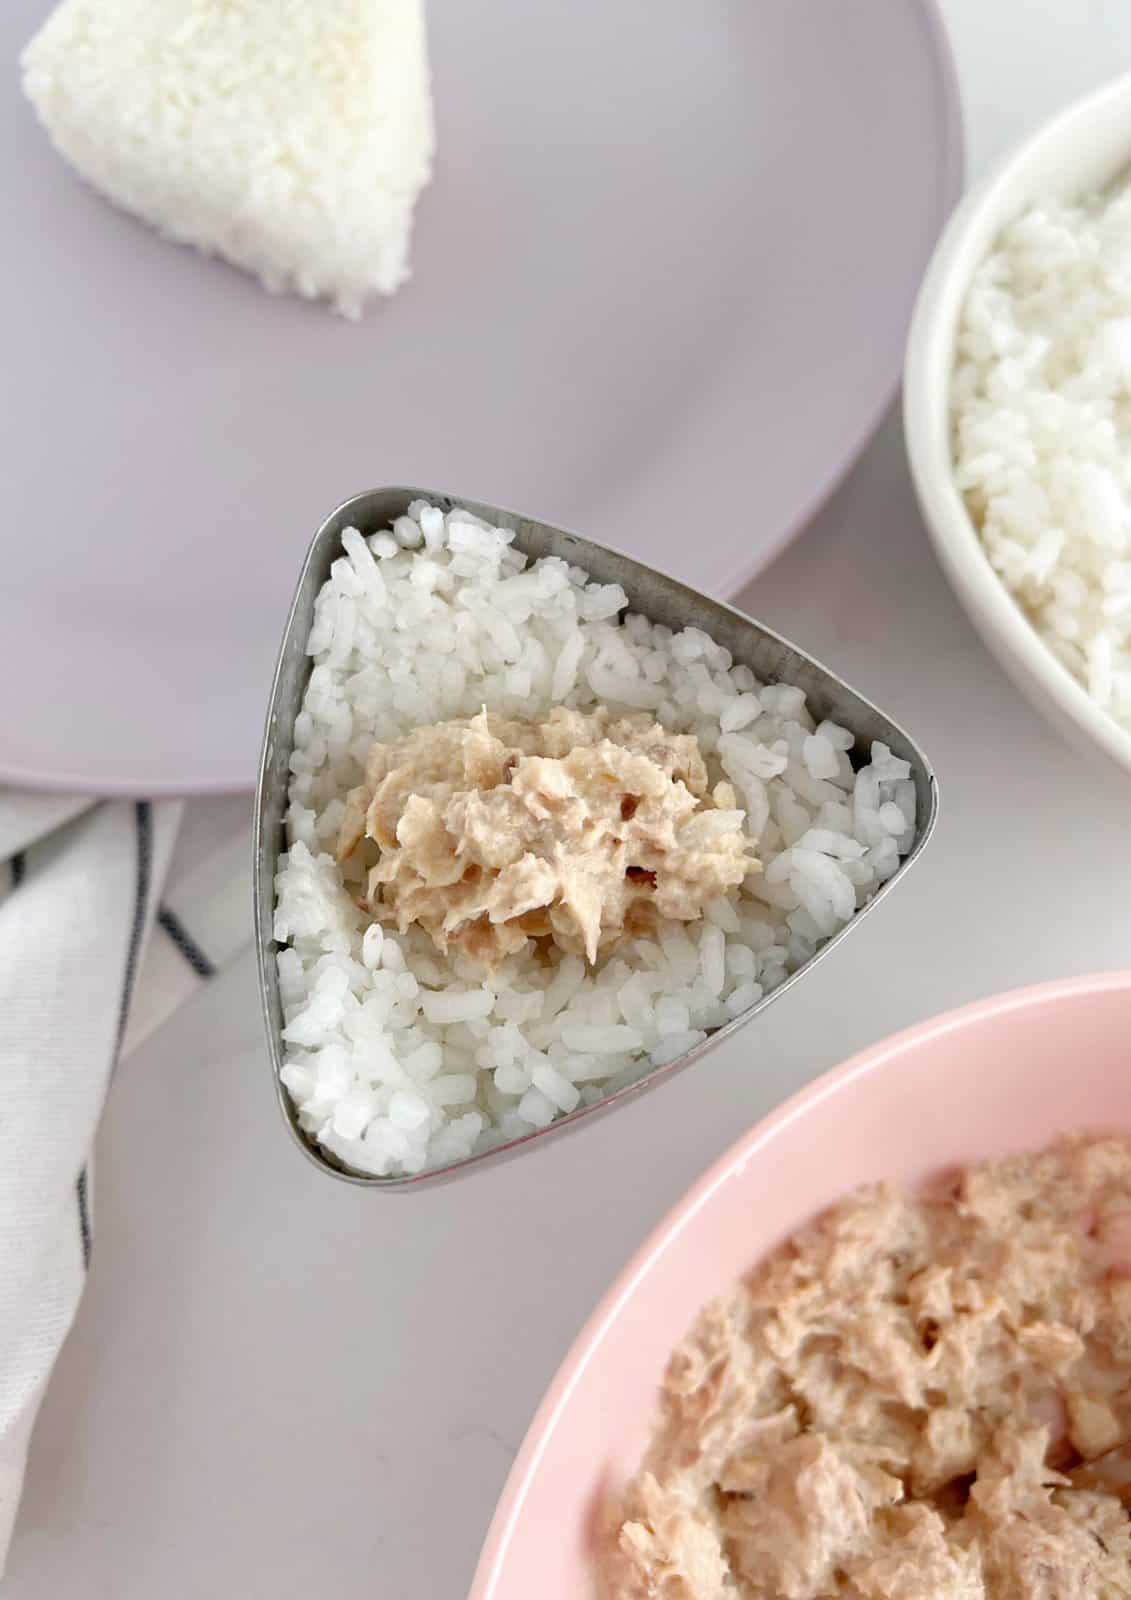
Now it is time to mold your Japanese rice balls! Fill your triangle press ⅔ full with your prepared rice. Form a well in the center.
Add about 2 tbsp of your filling to the well. Then, cover with another scoop of rice.
Pack your rice firmly to the shape of the mold. Once formed, set it on a plate.
Add your nori triangle to the rice balls. If you want to take it up a notch, roll them in a little furikake or sesame seeds. Enjoy!
Cook's Tips
- When forming your Japanese rice balls, wet the tips of your fingers with a little water to prevent the rice from sticking to your hands!
- If you find that your rice sticks to the mold, wet it with a little water between each use.
Storage Instructions
- These onigiri Japanese rice balls are best enjoyed fresh.
- You can store your leftovers in the refrigerator for up to 1 day.
Serving Suggestions
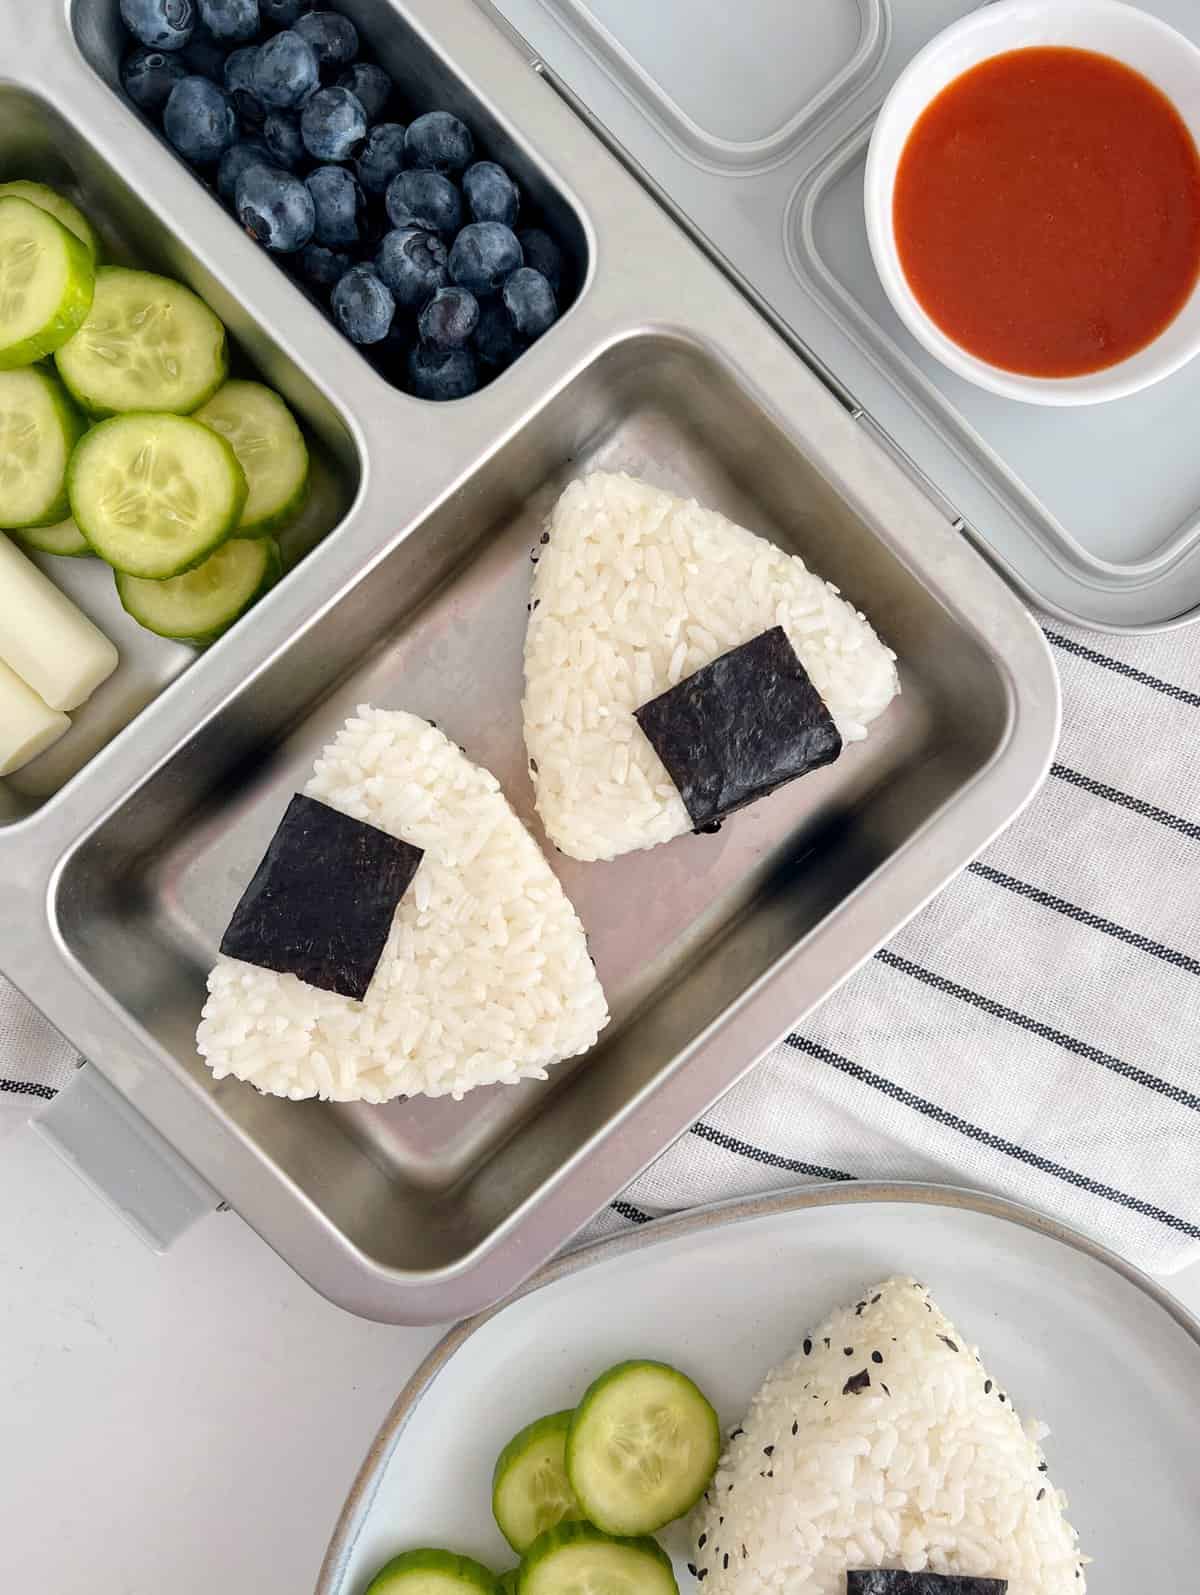
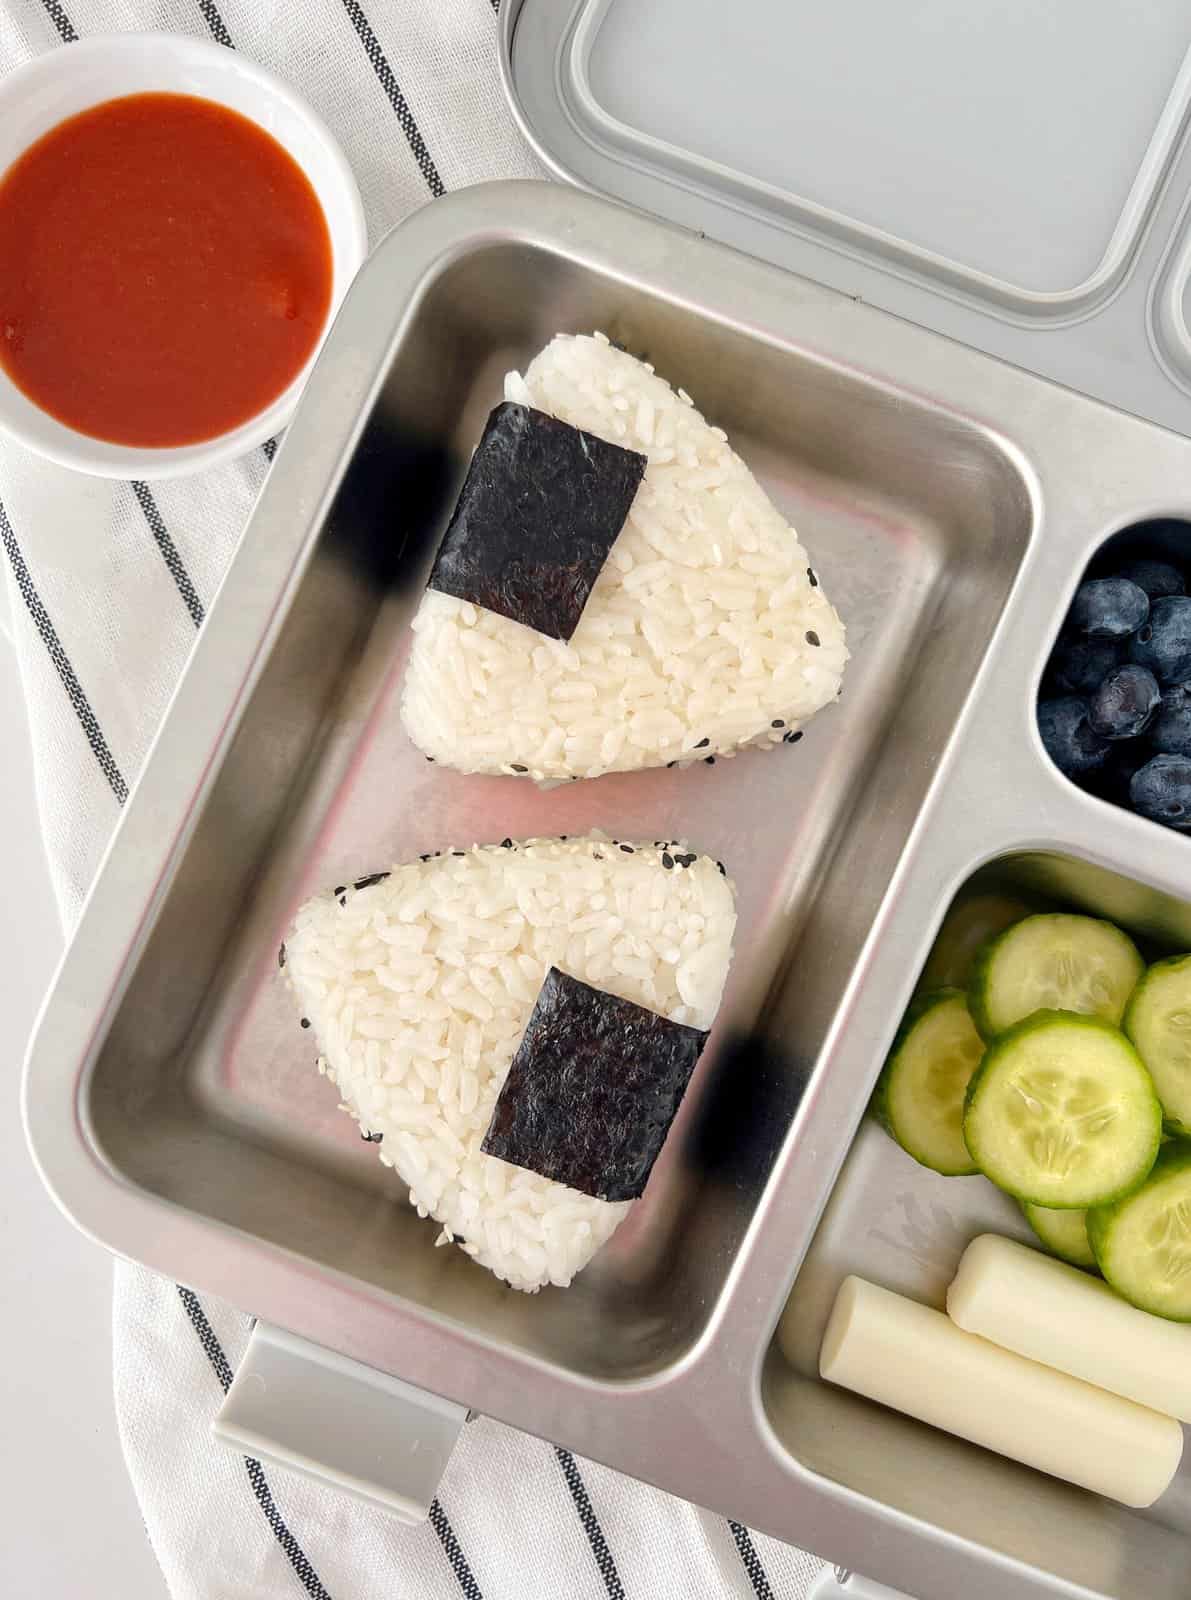
- Japanese rice balls are often made to go in bento box lunches. Pack them along with some veggies, tempura, pickles, soup, fruit, or salad.
- Onigiri are also a great addition to breakfast. Serve them with an omelet and a side of fruit.
FAQ:
Onigiri is the official name for Japanese rice balls. Onigiri is a popular Japanese staple that you can enjoy with a variety of fillings, and in a variety of settings.
Japanese rice balls are traditionally served either cold or at room temperature. They are most commonly served in bento boxes. However, there are some grilled versions of onigiri, so you can also enjoy it warm if you like.
These adorable Japanese rice balls may look complicated, but in fact it is quite simple to shape them. All you need is an onigiri mold or press. If you don’t have one, simply grab a sheet of saran wrap, form and fill your onigiri in the center of the plastic wrap, and then twist it tight to pack your rice balls. If you use this method, you will get round onigiri, rather than the triangle shape, but they will still be adorable and delicious!
Looking for more scrumptious snack recipes? Try these recipes!
I hope you enjoy making onigiri.
Looking for more easy lunch ideas? Try these 4 Ingredient Chicken Pot Pies recipe or you may like this Pizza Muffin recipe.
Tried this rice ball recipe and love it? Leave me a comment and rating below. For more inspiration follow us on Instagram Or like us on Facebook
Japanese Rice Balls
Equipment
- Onigiri Mold
Ingredients
- 2 cups Sushi Rice or Short Grain Rice cooked and cooled
- 1 tbsp Rice Wine Vinegar
- 1 tsp Sugar
- 6 oz Canned Tuna or Canned Chicken drained
- 1 tbsp Soy Sauce
- 2 tbsp Kewpie Mayo
- 1 Sheet of Nori cut into small rectangles
- Additional Garnish- 2 tbsp Furikake or 2 tbsp Mixed White & Black Sesame Seeds
Instructions
- Prepare rice by rinsing until water is no longer cloudy.
- Cook rice according to bag or rice cooker direction and let cool a bit.
- Add rice wine vinegar and sugar to rice. Stir to combine.
- In a separate bowl, mix together the mayo, drained tuna and soy sauce. Set aside.
- Fill triangle press ⅔ of the way with the prepared rice and make a well in the center.
- Scoop around 1tbsp of the tuna or chicken filling into the well and then cover with another scoop of rice.
- Pack contents firmly to form the shape and press or fold the onigiri onto a plate.
- Place the nori strip around the bottom half of the onigiri and roll into furikake or sesame seeds as or if desired.
- Can save and eat up to 1 day, stored in fridge.
Notes
Best when fresh.
Keep fingers wet to prevent rice sticking to them.
If your mold or onigiri triangle press is sticking, keep it wet and rinse between each use.
Nutrition
*If you decide to make a purchase through the affiliate link, Amazon will pay me a very small commission for it. This does not cost you anything additional. These commissions help to keep the rest of my content free.

Leave a Reply